
Abilities
Well Dweller abilities explained — matchstick combat, flaming vessel tricks, the water vessel deep-water gate and Soar traversal unlocks with the best collection order.
Introduction
Abilities in Well Dweller are metroidvania keys with combat personalities. The matchstick starts as your only tool — lamp, primer and weapon in one — and the flaming vessel, water vessel and Soar each open a family of rooms while changing how fights feel in the process. Villages of locked tunnels, too-high ledges and flooded corridors are the game’s way of asking which unlock you carry, which is why collection order matters more than collection speed: the first ability you earn usually loops you past three doors you already found. This hub documents what each ability does in combat, where its gate sits, and the route order that opens the most map with the least backtracking for both casual first clears and 100% files.
Ability Unlock Reference
| Ability | Role | Opens | Also Enables |
|---|---|---|---|
| Matchstick | Light + burn | Every dark room | Burn-based combat |
| Flaming Vessel | Throw / juggle | Remote ignitions | Pyromaniac lines |
| Water Vessel | Water traversal | The deep regions | Into the Deep beats |
| Soar | High leap glide | Tower-height ledges | Flying High routes |
| Dash family | Gap crossing | Wide chasms | Boss repositioning |
Ability Kit
Matchstick
Your first and most-used tool
Flaming Vessel
Throwable fire with achievement lines
Water Vessel
Deep-water access key
Soar
Late glide that rewrites shortcuts
Dash Family
Gap crossing and boss spacing
Vessel Juggling
Style play with real rewards
Core Mechanics
Abilities follow a strict gate philosophy: every locked door visibly telegraphs its key type (water shimmer, ledge height, chasm width), so the map never lies about what you lack. The matchstick inverts the usual metroidvania tool — instead of a key found later, it is a permanent resource economy you learn to budget, and its burn priming quietly underpins the entire combat layer. Flaming vessel and water vessel are classic keys with combat identities: one extends your reach, the other rewrites your route. Soar arrives late and deliberately breaks your mental map, converting one-way drops into loops. The ordering implication for routes is clean: abilities compound, so the first unlock you chase determines which three subsequent doors you open for free — which is why our progression guide sequences them by map yield rather than story beat proximity.
Advantages
The ability set is small, readable and systemic — four core tools beat fourteen gimmicks when each one feeds both combat and navigation. Gate transparency is excellent: you always know which unlock a wall wants, which eliminates the aimless wandering that soured some genre peers. Burn coupling means every ability pickup improves fights too, not just traversal, so combat mains care about collection beyond completionism. Soar’s late placement is genuinely well-judged — replaying familiar rooms with vertical freedom is the game’s best surprise and funds a satisfying pre-ending sweep. Achievement lines attached to ability usage (juggle counts, deep access, flying highs) reward learning tools deeply rather than merely owning them once and forgetting them.
Challenges & Weaknesses
Small kit, real caveats. The matchstick’s dual economy is brilliant until dimmed-flame states stack with dark rooms and boss pressure simultaneously — readability collapses in exactly the fights designed around light management, and no guide text prevents a frustrating blind phase. Ability-gate transparency cuts both ways: knowing a wall wants Soar means seeing that wall forty more times before the finale, which tests patience on wide explorers. Vessel juggling’s achievement demand feels slightly disconnected from combat utility — you learn a trick for the trophy then shelving it feels wasteful. And adjustable movement timing (dash windows, glide distance) interacts with difficulty settings in undocumented ways that early patch notes may still be tuning around.
Frequently Asked Questions
What order should I unlock abilities in?+
How does the matchstick actually work?+
Is Soar required for 100% completion?+
Quick Tips
When the water vessel lands, stop and do one full exploration loop before continuing the story — swim access retroactively opens entire branch networks you already walked past, and deferring that sweep until the finale turns clean collection into tedious backtracking across three regions unnecessarily. Do it at every single swim gate you meet along the critical path before moving on.
Practice vessel juggles in the safest room you know the moment you get the flaming vessel; Bouncing Bottles and Pyromaniac achievements then accrue passively during ordinary play instead of demanding a dedicated awkward grinding session near credits where motivation for style tricks naturally dips. Practice now converts the achievement into a natural side effect of ordinary combat play later.
Build dash timing against boss tells, not just chasm widths — the same burst that crosses a gap cleanly also slides you through a sweep’s dead frames, and players who only ever dash horizontally on the map arrive at fights treating a combat tool like a traversal afterthought when it should be neither.
Featured

Well Dweller How to Light Matchstick: Dark Areas & First Flame
Well Dweller how to light matchstick basics — when Glimmer's flame ignites, which dark corridors it unlocks first, and how match fuel feeds combat.

Well Dweller Ability Upgrades: Skills, Costs & Unlock Path
Track every Well Dweller ability upgrades milestone from first flame to endgame — vessel juggling tricks, movement unlocks, and the Pyromaniac 100-throw achievement.
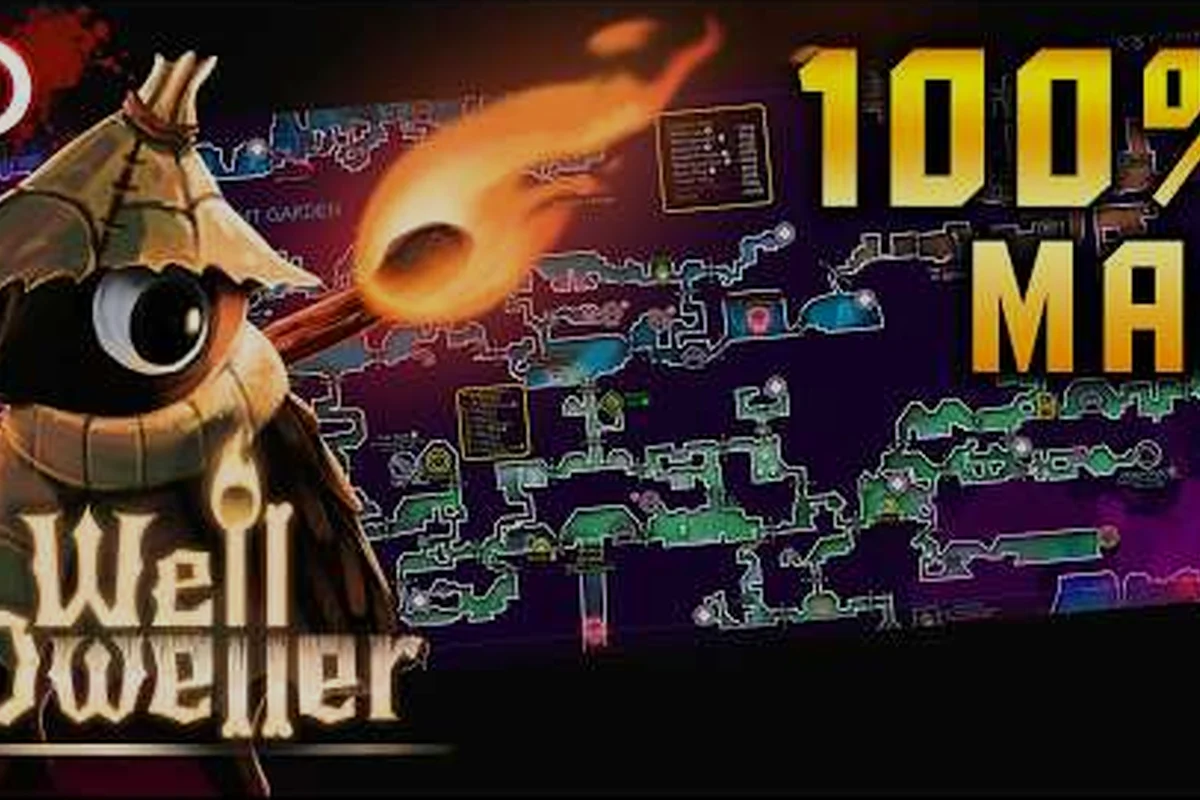
Well Dweller All Abilities: Roster, Requirements & How to Unlock
Browse the full Well Dweller all abilities roster — flaming vessel, water vessel, grappling, soaring, dashing — with the boss or milestone that unlocks each one.
All Articles

Well Dweller Burning Enemies: Vessel Juggling & Fire Combos
Master Well Dweller burning enemies with vessel juggling combos — ignite groups, chain flame damage, and stack traversal upgrades for max crowd control.
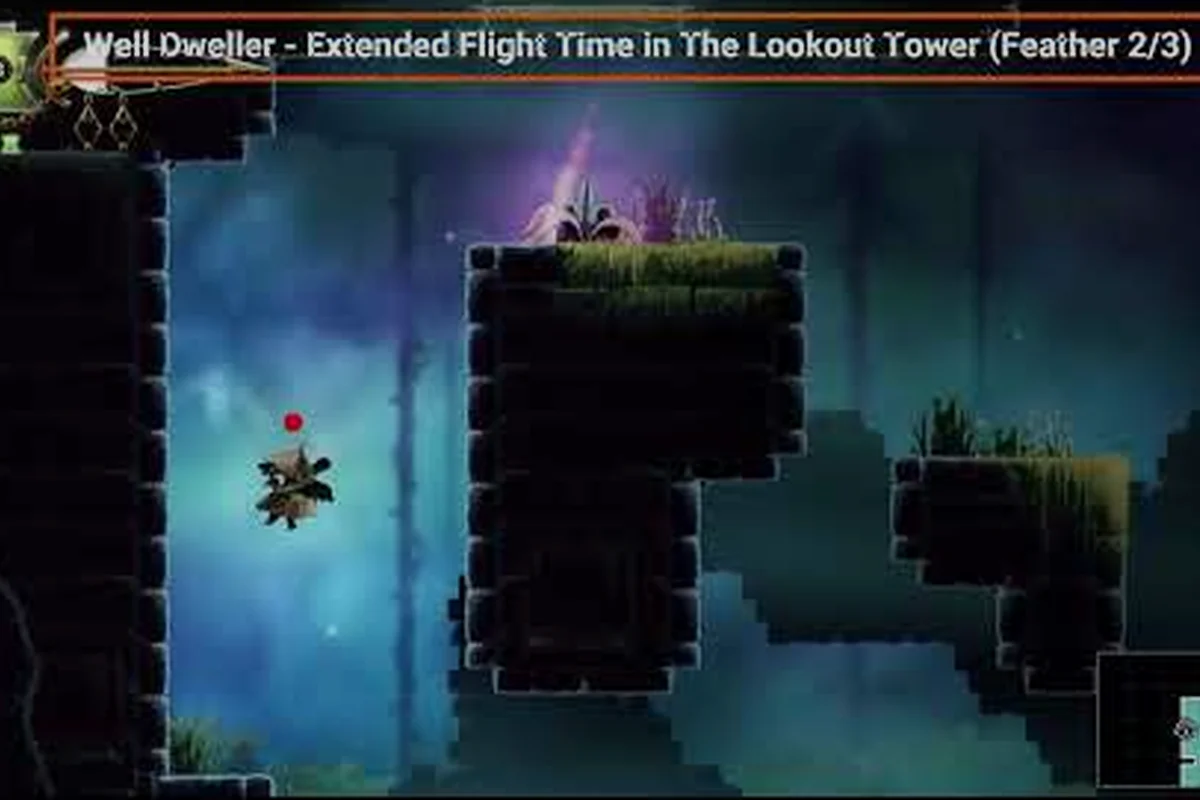
Well Dweller Grappling Ability: High Places, Gaps & Fire Hooks
Master the Well Dweller grappling ability to reach high ledges, cross wide gaps, and chain fire mechanics into traversal shortcuts across the kingdom.
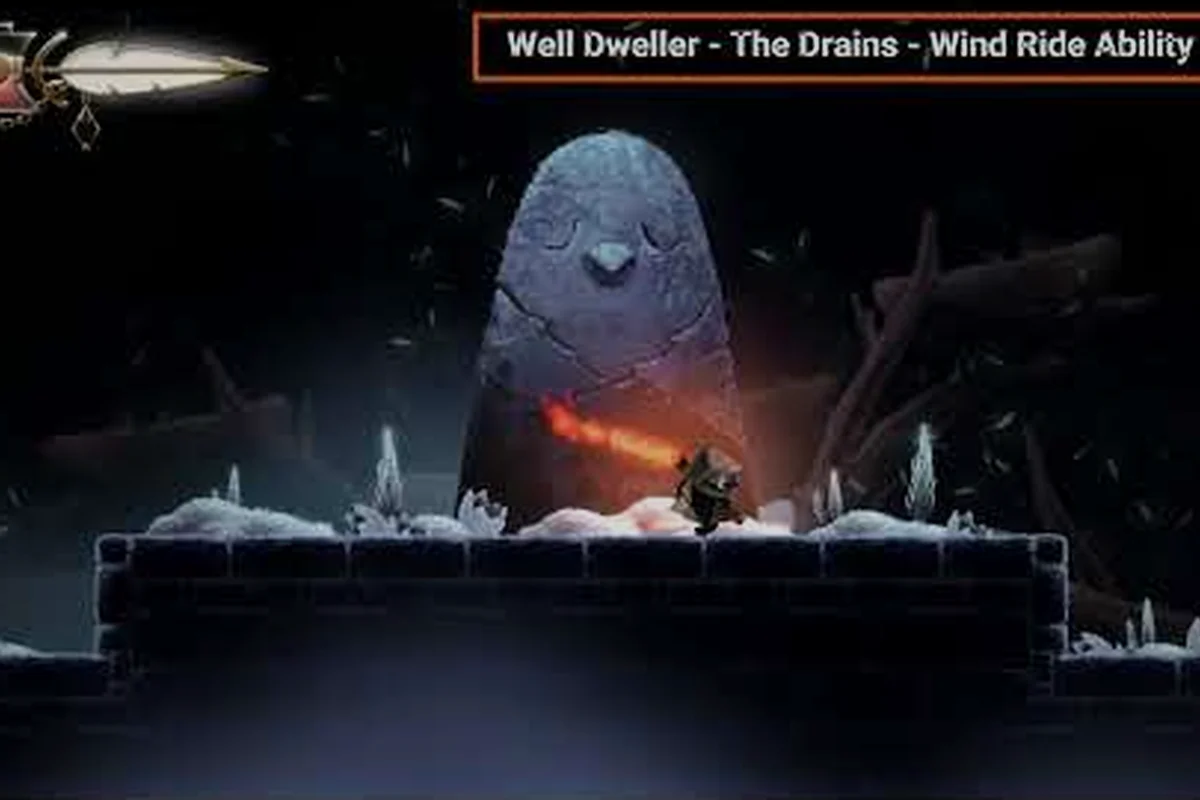
Well Dweller All Movement Upgrades: Order, Barriers & Traversal
Unlock every Well Dweller all movement upgrades in order — when soaring, dashing, and wall jumps activate, and which sealed barriers each one finally shatters.
Well Dweller Water Vessel Ability: Swim, Dive & Into the Deep
Unlock the Well Dweller water vessel ability — where to find the Into the Deep access point, new swim routes it opens, and the dive spots most players miss.