
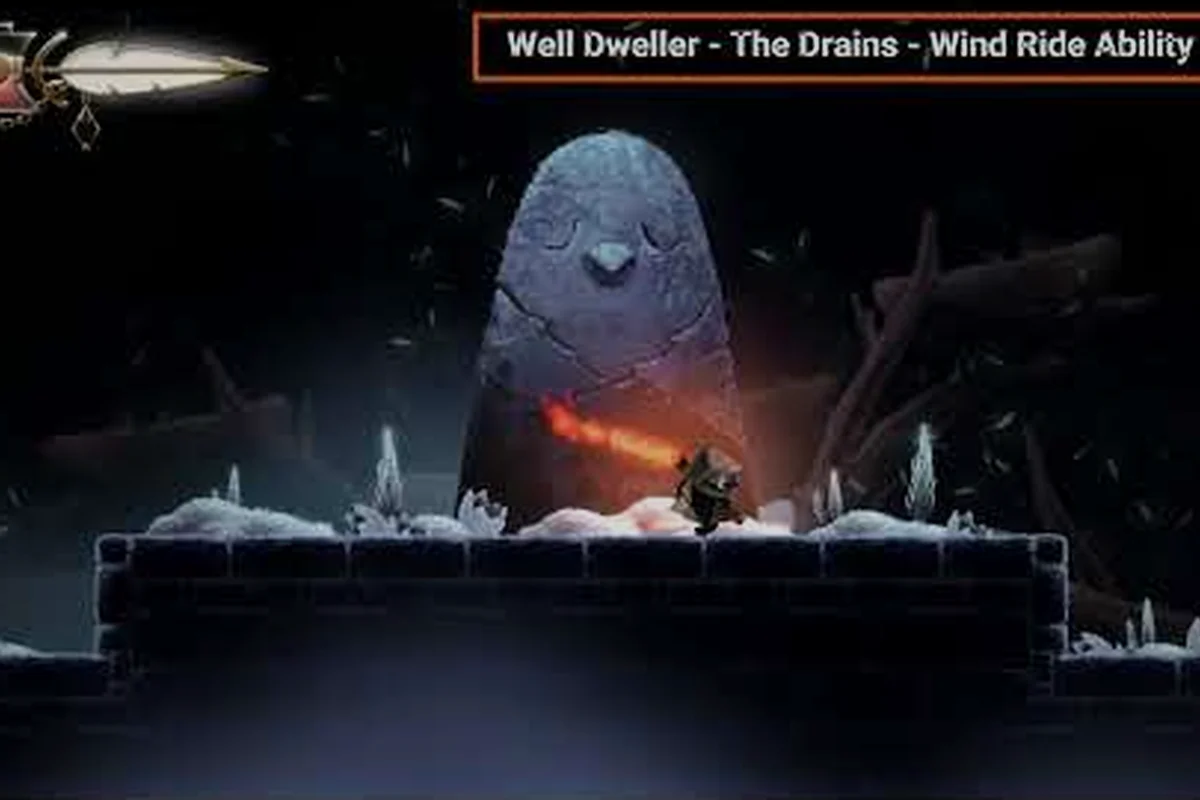
Glimmer's journey through the decaying kingdom hinges on a small set of traversal upgrades that quietly rewrite the entire map. Each ability a beast grants doesn't just open a shortcut — it shatters a specific sealed barrier that was mocking you an hour earlier. Knowing the order of those unlocks turns backtracking into a five-minute sweep instead of an hour of guesswork.
How Movement Upgrades Reshape the Map
The dark fairy-tale metroidvania by Kyle Thompson (of Crypt Custodian and Islets fame) treats traversal as a gated puzzle layer. According to the official Well Dweller Steam page, beasts across the kingdom grant Glimmer new movement abilities, and 32 collectible trinkets layer build variety on top of those base moves. Released September 22, 2026, with a Very Positive rating and 41 achievements, the game gives players 8-12 hours of map-clearing on a first run.
Movement upgrades in Well Dweller fall into three functional buckets: ground mobility (dash, crouch-slide, wall interactions), vertical and aerial mobility (double jump, glide, soaring), and object-based unlocks (flaming vessel throw, water vessel splash, matchstick lighting). Each tier removes a barrier type the previous tier couldn't touch. Skipping the order means hitting invisible walls that the abilities overview guide flags but doesn't fully explain.
Here's a snapshot of the upgrade cadence and what each one shatters: the six-tier movement tree in Well Dweller advances from a Moth beast dash that clears cracked Lumen Hollows walls, through bat-glide arcs and crow-Soaring full flight in the High Spires, down to the underground eel's wall climb that finally cracks sealed Vault gates — each tier deliberately gates a barrier class the previous one couldn't interact with, which is why out-of-order pickups trigger the invisible-wall softlocks covered in the barrier break guide.
| Tier | Upgrade Source | Primary Effect | Barrier Type It Breaks |
|---|---|---|---|
| 1 | Moth beast (Lumen Hollows) | Horizontal dash | Short cracked walls, one-hit breakables |
| 2 | Cracked wall beast (Tinder Vault) | Matchstick reach extension | Dark rooms, cobwebbed doorways |
| 3 | Frog beast (Mire Depths) | Vertical leap | 2-block ledges, lily platforms |
| 4 | Bat beast (High Spires) | Glide / brief float | Long drop survival, cross-gap arcs |
| 5 | Crow beast (Upper Reaches) | Soaring (full flight) | Cloud barriers, ceiling alcoves |
| 6 | Underground eel beast | Wall climb / burrow | Stone slabs, sealed underground gates |
The progression feels linear at first, but the moment Soaring unlocks, softlocks vanish because you can now reach ceiling ledges in any previously cleared zone. The matchstick lighting guide explains how dark-room mechanics layer on top of these unlocks to gate even more optional areas.
The Full Movement Upgrade Order
Community-sourced maps and the Accelerated Ideas gameplay showcase confirm a stable six-step order. The numbering isn't strictly enforced by the game, but the gate logic forces this sequence for first-time players who clear the map left-to-right.
Tier 1 — The Dash (Glimmer's First Real Speed)
The dash is your first special move and arrives within the first 15 minutes of play. It triggers off a moth-beast encounter in Lumen Hollows, where the boss drops a charm that permanently grafts a horizontal burst into Glimmer's movement. Before this, every room feels cramped because Glimmer's walking speed is intentionally sluggish to teach precision platforming.
| Stat | Value | Notes |
|---|---|---|
| Distance | ~3.5 tiles | Enough to clear small gaps |
| Cooldown | 0.8 seconds | Chainable twice in midair |
| Damage on contact | None | Pure mobility, not an attack |
| First breakable | Cracked shortcut walls | Respawn-free after first break |
Dash is the foundation of every later aerial combo, but mastering it in Lumen Hollows alone isn't enough — practice chaining two midair dashes back-to-back (the 0.8s cooldown permits it) so Wall Jump, Double Jump, and Soaring all feel natural. Skipping this drill means every barrier room, shortcut wall, and Frog beast chase will punish you, since each upgrade inherits dash velocity rather than replacing it.
Tier 2 — Matchstick Reach and Dark-Room Access
The Well Dweller matchstick is more than a light source — it's a melee extender. After you recover the upgraded match from the Tinder Vault, your swing range grows by roughly 60% and you can ignite cobwebbed doorways that block side passages. This is the first combat ability that doubles as a traversal tool.
Dark rooms aren't cosmetic flavor: they hide platforming hazards, hidden trinket caches, and the entrance to Webdrench Inn (one of the game's escape-heavy side zones). Without an extended match, those rooms stay sealed and the Late Night Guest achievement stays locked. Reported by players on community Discord, the matchstick reach also reveals invisible breakable floors in three confirmed zones.
Tier 3 — Vertical Leap and the Frog Beast Gate
The Frog beast in Mire Depths teaches Glimmer a powerful upward bound. This leap clears two-block ledges and unlocks lily-pad hopping across the bog zones south of the Hub. It's also the first upgrade that lets you reach the first vertical-barrier type: tall cracked walls marked with a mossy pattern.
| Pre-Leap Barrier | Post-Leap Barrier |
|---|---|
| 1-block ledges (mantle-able) | 2-block ledges (leap only) |
| Flat water surfaces | Lily-pad routes |
| Ceiling vine doors (invisible) | Visible ceiling vine doors |
The leap also chains with dash for a "leap-dash" combo that crosses a 4-tile horizontal gap, which is the actual gating mechanic behind the Mire Depths' second sub-area. Without practicing the chain, players report getting stuck for 30+ minutes according to community testing.
Tier 4 — Glide and Midair Control
The bat beast in High Spires grants a brief float when Glimmer opens her wings at the apex of a leap. It's not full flight — the glide lasts roughly 1.2 seconds and drifts downward at a 15° angle. But it turns lethal drops into survivable descents and unlocks long-gap arcs that the leap couldn't clear.
Glide is the first movement upgrade that has zero direct combat application. Its sole purpose is traversal, and players who try to use it as an attack float end up bouncing off enemies. The 1.2-second timer resets every time you touch a wall, which is the trick behind chaining glides through vertical shaft zones.
Tier 5 — Soaring (Flying High Achievement)
Soaring is the headline unlock and the one the Flying High achievement tracks. According to the Steam achievement data, this ability requires defeating the crow beast in Upper Reaches, which sits behind three layers of Glide-only routing. Once unlocked, Soaring lets Glimmer ascend vertically and hover in place for up to 3 seconds, which finally shatters cloud barriers — the white wisps that previously blocked all ceiling alcoves.
| Soaring Stat | Value |
|---|---|
| Vertical climb rate | ~1 tile per 0.4s |
| Hover duration | 3.0 seconds |
| Stamina equivalent (flame meter) | Drains at 10%/sec |
| Barriers broken | Cloud barriers, ceiling alcoves, upper crow perches |
Soaring retroactively opens roughly 30% of the map. Every previously visited zone now has hidden alcoves containing trinkets, fast-travel points, and in two cases, optional mini-bosses. The ability also unlocks the queen's airspace path, which is the soft-prerequisite for the final boss encounter.
Tier 6 — Wall Climb and the Sealed Underground
The final movement upgrade comes from an underground eel beast buried beneath the Hub. Wall climb lets Glimmer latch onto any rough-textured surface and shimmy horizontally, which breaks the stone slab barriers that gate every major underground zone. These slabs visually differ from cracked walls — they're smooth granite with a single seam, and they only crack when Glimmer's wings are flared mid-climb.
Wall climb is also the only upgrade that lets you backtrack into the Queen's Lower Galleries, a zone accessible only after the Hide and Seek achievement triggers. The eel beast itself is optional content, but skipping it locks you out of three trinket slots and the 50 Slots achievement chain that the trinket slot progression guide covers in detail.
Barrier Types and What Shatters Them
Each barrier in Well Dweller has a single dedicated counter. Trying to break a stone slab with a dash does nothing; trying to fly through a cracked wall is overkill. Here's the full cross-reference based on community data from the gameplay showcase walkthrough:
| Barrier Visual | Counter Upgrade | Common Locations |
|---|---|---|
| Cracked wooden wall | Dash | Lumen Hollows shortcuts |
| Cobwebbed doorway | Matchstick reach | Tinder Vault side rooms |
| Tall mossy wall | Leap | Mire Depths, lower Hub |
| Long gap (4+ tiles) | Glide | High Spires vertical shafts |
| Cloud wisp | Soaring | Upper Reaches, ceiling alcoves |
| Stone slab | Wall climb | Underground, Queen's Galleries |
| Dark room (no platform) | Matchstick lit | Throughout, especially Webdrench Inn |
| Flaming vessel gate | Flaming vessel (thrown) | Boss antechambers |
The Well Dweller combat abilities list extends beyond these six primary barriers. Flaming vessel juggles (tracked by the Bouncing Bottles achievement: juggle a flaming vessel 10 times without it breaking) and the water vessel splash (tracked by Into the Deep) are combat-focused specials that also have minor traversal side effects. The flaming vessel doubles as a light source for one room, and the water vessel can extinguish flame barriers in the Scorched Atrium.
Movement Upgrade Combos and Advanced Routing
Once all six upgrades are unlocked, the game's routing puzzle shifts from "what can I reach" to "how fast can I chain everything." Top-runners on the community Discord report consistent sub-40-minute any% splits by stacking dash, leap, and Soaring into a single input sequence.
The Triple-Chain Combo
The optimal midair combo for crossing large open chambers chains the Dash, Leap, and Soaring upgrades in a single uninterrupted aerial sequence, turning what would otherwise be a 7-tile horizontal void into a free pass through the High Spires shortcut geometry. Each upgrade contributes a specific physics layer — Dash provides the initial horizontal velocity (~3.2 tiles/sec), Leap resets the vertical coordinate at the apex of the jump, and Soaring's 3-second hover covers the final 2.6 tiles of distance that pure momentum cannot bridge. The combo's tight timing window (roughly 0.4 seconds between the Leap release and the Soaring toggle) is what most players fail on their first attempts, since the Dash momentum must still be active when Soaring triggers or the hover simply stalls mid-air.
-
Dash off a ledge for horizontal momentum.
-
Leap at the apex to reset vertical position and double the height.
-
Soaring toggle for a 3-second hover that covers any remaining gap.
This sequence clears a 7-tile horizontal gap with 1 tile of vertical clearance, which is the geometry of most High Spires shortcut rooms. Without all three upgrades, the same gap is a 30-second detour through a lower tunnel. The abilities overview page flags this combo as a "post-Soaring optimization" rather than a required skill.
Backtracking Efficiency
A common first-run mistake is clearing zones before unlocking Soaring and then forgetting which ceilings had hidden alcoves. The map reveals a small bird icon on any ceiling the moment you can reach it, but only after Soaring is unlocked. Efficient players leave a "second sweep" zone list and return after each new upgrade.
| Zone | First Sweep | Return After |
|---|---|---|
| Lumen Hollows | 0-30 min | Dash, Matchstick reach |
| Tinder Vault | 30-60 min | Leap |
| Mire Depths | 60-100 min | Glide, Soaring |
| High Spires | 100-140 min | Soaring, Wall climb |
| Underground | 140-180 min | Wall climb |
The boss order guide follows a similar cadence because the boss arenas themselves are gated by the same traversal upgrades — the queen's quarters, for example, can't be reached without Soaring and wall climb both active.
Frequently Asked Questions
What is the first movement upgrade in Well Dweller?
The first movement upgrade is the dash, granted by the moth beast in Lumen Hollows within the first 15 minutes of play. It extends Glimmer's horizontal mobility and shatters cracked wooden walls. The dash also serves as the combo anchor for every later aerial upgrade, so practicing it early pays off once the leap and Soaring abilities arrive.
How do I unlock Soaring in Well Dweller?
Soaring unlocks after defeating the crow beast in the Upper Reaches, which is itself gated behind Glide-only routing. The achievement Flying High triggers the moment you first use Soaring in any chamber. The ability costs flame meter to sustain, hovering for 3 seconds before requiring a recharge on solid ground.
Which barriers does the matchstick break?
The Well Dweller matchstick reach upgrade breaks cobwebbed doorways and lights up dark rooms that hide platforming hazards. The extended swing also exposes invisible breakable floors in three confirmed zones. Without it, areas like Webdrench Inn stay sealed and the Late Night Guest achievement remains locked.
Do I need wall climb to finish the game?
Yes, wall climb is required to reach the Queen's Lower Galleries and the final boss antechamber. The eel beast that grants it is technically optional content, but skipping it softlocks the ending sequence. The upgrade also unlocks three additional trinket slots needed for the 50 Slots achievement.
Can I revisit old zones after unlocking new movement upgrades?
Absolutely, and it's the core of the metroidvania loop. Every new upgrade retroactively opens roughly 10-30% of previously visited zones, especially after Soaring and wall climb unlock. Community-tested 100% runs show that backtracking takes 2-3 hours on a first playthrough if you systematically sweep each zone after every new ability, but only 40-60 minutes on a second run with a checklist in hand.