
Trinkets
Well Dweller trinket guide covering all 32 trinkets, slot expansion from 10 to 50, workshop upgrades and the strongest early builds for bosses and exploration.
Introduction
Trinkets are Well Dweller’s loadout language: 32 collectible charms that fill an equipment pool which expands from 10 slots to 50 over a full clear. Slots, not raw stats, are the real progression meter — a wide pool of mediocre charms outperforms three perfect ones stuck behind a narrow early cap, which is why milestone hunting (Ten Slots, 50 Slots) doubles as build advice. The workshop converts duplicates and effort into single-charm upgrades, ending at the Fully Stocked achievement for a completely upgraded collection. This hub tracks locations, tier reads and combination logic: which charms carry into the final route, which are situational winners, and which exist mostly to complete the collector checklist.
Trinket Slot Milestones
| Milestone | Slots | How It Lands | Priority |
|---|---|---|---|
| Starting kit | 10 | Default loadout | Fill with anything early |
| Ten Slots | 10+ | First-slot achievement | Confirm first build shape |
| Mid-game expansion | 20-30 | Workshop + finds | Pair boss + explore sets |
| 50 Slots | 50 | Late achievement | Full mix-and-match freedom |
| Fully Stocked | All upgraded | Workshop completion | Collector endgame project |
Slot Milestones
Starting 10
Ten slots, everything temporary
Ten Slots Achievement
Confirm the first real build
Mid Expansion
Twenty-to-thirty slot range
50 Slots
Full capacity, full freedom
Fully Stocked
Every charm fully upgraded
Boss Specialized
Loadouts shaped per encounter
Core Mechanics
The trinket system runs on three currencies: find count, slot capacity and workshop tier. Finds expand your pool (32 total), slots gate how much of the pool you can express at once (10 → 50 via milestones), and workshop upgrades multiply individual charm strength until Fully Stocked caps the curve. Mix-and-match is the advertised design pillar — charms are built to combo (burn extension with ignition chance, greed sets with movement), and the game never punishes you mechanically for weird pairings, only for imbalance when a defenseless greed build walks into an ambush arena. Slot milestone achievements are deliberately laddered across the critical path, which means following boss order also advances capacity organically. The one true trap: upgrading a charm early that the next region immediately outclasses — materials are recoverable, but tempo lost to a wasted finish is not.
Advantages
Trinkets are Well Dweller’s best replay lever. The 32-charm pool is wide enough that two players on identical routes express genuinely different builds, and the 10→50 capacity ladder makes every new region feel rewarding even for players who do not care about raw collectibles — a slot is a visible, permanent power-up you can feel immediately. Workshop progression gives repeat visits to the castle a purpose long after shop cosmetics stop mattering. Achievement coupling (Ten Slots, 50 Slots, Fully Stocked, Hobby Collector families) converts natural play into checklist progress without grindy side objectives. And because charm effects are readable at a glance, theorycrafting happens in your head during exploration rather than in menus, keeping the metroidvania’s pace intact between fights comfortably.
Challenges & Weaknesses
The same systems have sharp edges. Thirty-two charms plus fifty slots means inventory noise — without a mental bucket system you will re-read the same tooltip eight times per swap and slow to a crawl. Workshop material costs escalate hard enough that Fully Stocked is realistically a post-clear farming project, which can feel like busywork if you expected it to fold into the main route naturally. Some charms are collect-first rather than play-well (the C-tier picks exist for the checklist, not your build), and early upgrading can waste materials on charms the next region trivially replaces. Finally, slot milestones tied to achievements can pressure completionists into capacity grinding at the cost of story tempo — a pacing trap only if you let the checklist drive.
Frequently Asked Questions
How many trinkets are there and how do I get more slots?+
What are the best trinkets to equip first?+
Should I upgrade trinkets at the workshop immediately?+
Quick Tips
Label your pool into combat, mobility and greed buckets before your first workshop visit — the sorting takes two minutes and saves you from the classic lopsided build that feels dominant in open corridors and collapses the moment an ambush arena punishes your zero-defense greed set. Two minutes of sorting repays itself at every single chest you open afterwards comfortably.
Bank workshop materials until after the 50-slot milestone; upgrading charms you are three finds away from outgrowing is the system’s quietest trap, and the material refund fantasy you assume exists absolutely does not exist anywhere in this game as far as community reports confirm. Bank first, spend later, and the workshop economy stays firmly on your side throughout the run.
Re-read charm tooltips whenever a region changes rather than whenever a chest opens — new zones invalidate old assumptions about what “always active” means, and swapping two slots at each region gate is cheaper than re-learning the habit after a wiped boss attempt. One re-read at each region gate keeps your build honest with minimal time investment honestly.
Featured
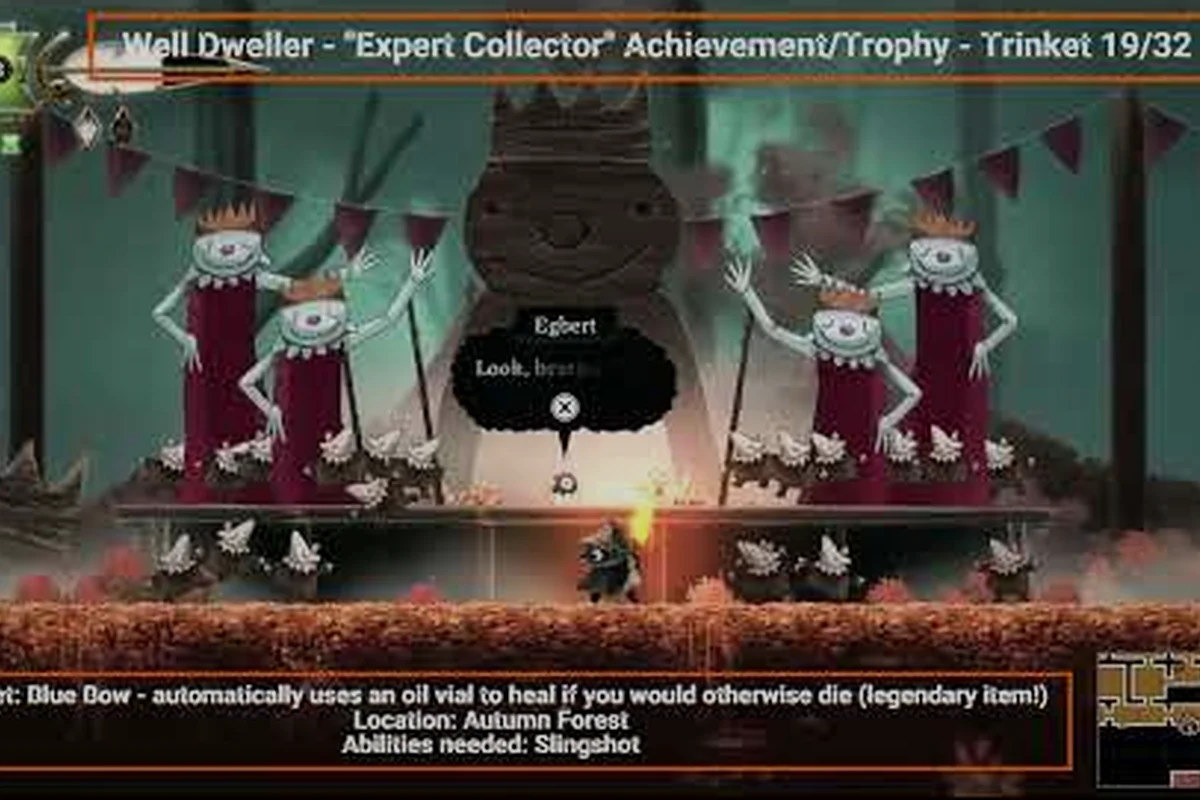
Well Dweller All Trinkets: 32 Charms, Locations & Slot Costs
Catalog the full Well Dweller all trinkets collection — every charm, its map location, slot cost, and the hidden pickups most first runs miss.
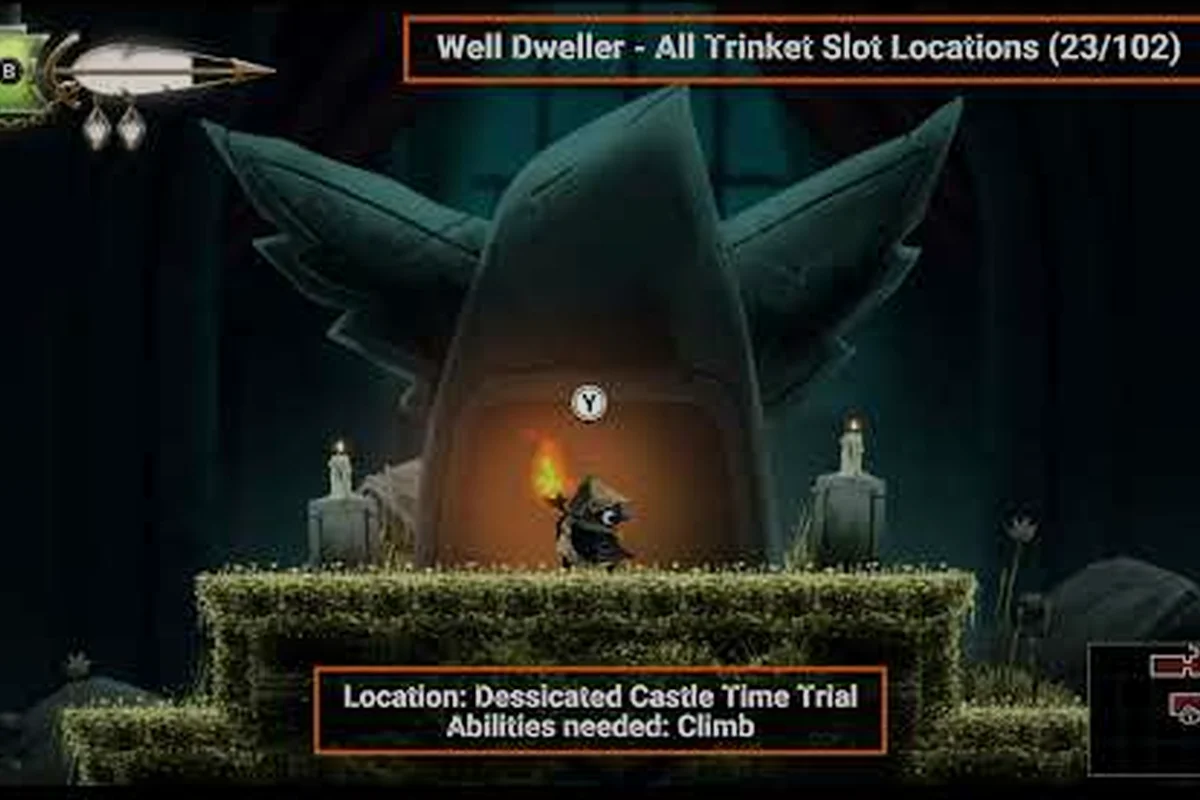
Well Dweller Best Loadout: Charm Combos & Max Slot Builds
Build the Well Dweller best loadout for any situation — top charm combinations, accessory synergies, and the trinket picks that fill all 32 slots.
Well Dweller Best Trinket Build for Combat & Exploration
Forge the Well Dweller best trinket build for your run — which of the 32 trinkets carry combat, which ones open traversal, and the top combos for 100% completion.
All Articles
Well Dweller Inventory Slots: Farming, Locations & Upgrade Cost
Expand your Well Dweller inventory slots fast — best farming spots for rare trinkets, where each one hides on the map, and the coin cost of every workshop upgrade.
Well Dweller Trinket Capacity: 10 to 32 Slot Upgrade Path
Push your Well Dweller trinket capacity from 10 to 32 slots — workshop unlock steps, cheapest coin costs, and the collector achievements tied to every bump.
Well Dweller Trinket Effects: Offensive, Defensive & Utility
See all Well Dweller trinket effects by category — which charms boost damage, which ones shield Glimmer, and the utility picks that open hidden routes.
Well Dweller Ten Slots Trinket: Fastest Unlock Route
Hit the Well Dweller ten slots trinket milestone quickly — quickest workshop upgrades, easiest early pickups, and the cheapest coin path to your next capacity bump.