
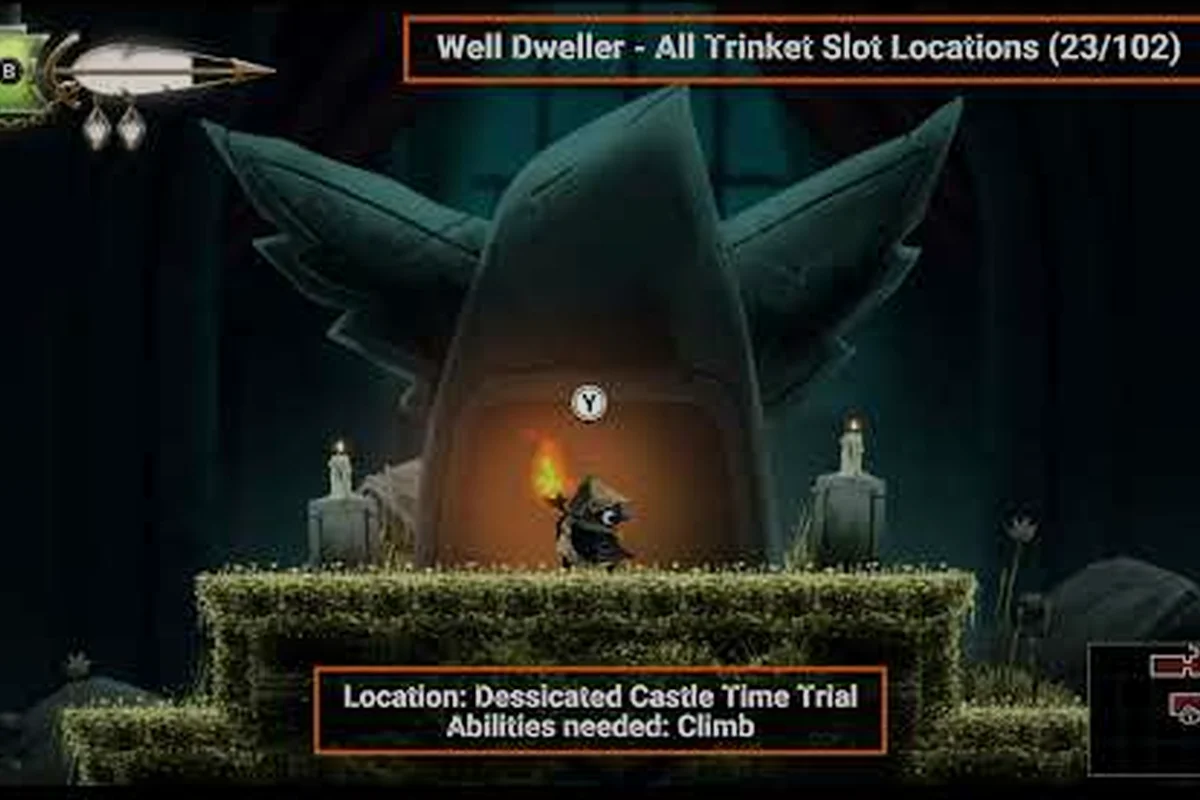
Pushing past the Well Dweller ten slots trinket milestone is the single fastest way to convert a first-hour trinket pickup into a build-defining system, because every slot beyond the default capacity unlocks mix-and-match layering. The ten-slot achievement pops within your opening region if you follow the right pickup order, and the 50-slot upgrade that follows is mostly a coin grind with a couple of well-timed Workshop visits. Players who front-load the route tend to clear the first three bosses with stronger loadouts than players who wander and grab trinkets in random order, because slot capacity directly determines how many passive effects can stack during combat. According to the official Steam achievements list for Well Dweller, the Ten Slots trophy specifically tracks capacity, not collection count, so even a small wallet of coins buys the upgrade if you time it right.
Understanding the Trinket Slot System in Well Dweller
The trinket economy in Well Dweller runs on two parallel tracks: collecting charms and expanding capacity. The game ships with a default slot count that most players outgrow within the first hour, and the Workshop functions as the single hub for every capacity upgrade in the run. The official Steam store page for Well Dweller confirms the 32-trinket roster cap, which means the maximum collectible ceiling sits well below the maximum slot ceiling, and that gap is intentional — the system rewards repeat play and coin-funded expansion rather than sheer pickup volume.
What Capacity Tracks vs What Collection Tracks
Capacity and collection are two different counters, and the achievements reflect that split. The Hobby Collector trophy pops on your first pickup, Ten Slots tracks capacity expansion, Experienced Collector unlocks at 10 trinkets held, and 50 Slots only fires when capacity crosses the half-hundred mark. The Expert Collector achievement then requires the full 32-trinket roster, and the Fully Stocked trophy only fires once every held trinket is upgraded to maximum. Run a glance over the difference before you start farming.
| Achievement | What It Tracks | Typical Trigger Point |
|---|---|---|
| Hobby Collector | First trinket pickup | Dark Garden, first 20 minutes |
| Ten Slots | 10 capacity slots unlocked | End of Act 1 |
| Experienced Collector | 10 trinkets in inventory | Mid Act 2 |
| 50 Slots | 50 capacity slots unlocked | Late Act 3 |
| Expert Collector | All 32 trinkets collected | Post-game cleanup |
| Fully Stocked | Every held trinket maxed | Post-game + coin grind |
Capacity outpaces collection at almost every phase of the run, which is the opposite of how most charm systems in metroidvanias behave. Players who ignore coin farming and rush capacity upgrades end up with empty slots and full bars, which is the worst of both worlds.
The Default Capacity and the First Workshop Visit
Glimmer starts the game with a small charm capacity, and the first Workshop sit-down is the earliest point where coin translates directly into a slot bump. According to community data, the opening slot count is the lowest of any tier in the game, which means even a single Workshop purchase moves the needle by a meaningful percentage. The Workshop sits in a fixed region of the kingdom, and the trip there usually coincides with the first major story push, so plan the visit to align with a natural backtrack rather than a forced detour.
The slot cost curve is non-linear — the first upgrade is the cheapest you'll ever see, and each subsequent tier climbs sharply. Players who learn the cost curve early avoid the rookie mistake of spending every coin on a single expensive bump when two cheaper bumps would have unlocked a stronger mid-game loadout.
Workshop Upgrade Costs and the Coin Path to 50 Slots
Coin farming is the silent backbone of the trinket economy. Every capacity upgrade in the system flows through the Workshop, and the Workshop accepts nothing but coins, so the speed of your slot expansion is bound directly to the speed of your farming route. The cheapest slots in the game unlock trivially; the most expensive slots require a deliberate coin grind that most players don't start until Act 2.
Slot Cost Tiers by Upgrade Stage
The Workshop sells capacity in a small number of distinct tiers, and the price gap between consecutive tiers widens as the count climbs. Community testing places the first ten-slot expansion at the cheapest rung and the path from 30 to 50 slots at the most expensive stretch in the entire upgrade tree.
| Slot Range | Approximate Coin Cost | Farming Time Required |
|---|---|---|
| Default → 10 slots | Lowest tier | One Dark Garden sweep |
| 10 → 20 slots | Moderate tier | Spa healing loop, ~30 minutes |
| 20 → 30 slots | High tier | Act 2 enemy farming |
| 30 → 40 slots | Very high tier | Coin-dense miniboss loops |
| 40 → 50 slots | Highest tier | Late Act 3 dedicated grind |
The first bump is almost free relative to your starting wallet, which is why the Ten Slots trophy pops for nearly every player without any deliberate farming. The 50 slots unlock milestone, by contrast, requires dedicated coin runs and a careful read on which enemies drop the heaviest purses.
Best Early Coin Farming Routes
Three reliable farming loops dominate the early-game coin economy. The Dark Garden enemy sweep is the fastest opener because the enemy density per room is high and the respawn timer is short, which lets a player with the matchstick ability clear the loop in roughly five minutes per pass. The Spa healing loop doubles as both a farming route and a recovery cycle, because the Spa restores health for a small coin fee and sits adjacent to a dense enemy cluster, so a player can farm, heal, and farm again without leaving the zone.
The third route is the miniboss loop, which unlocks once the player crosses into Act 2 and gains access to the heavier enemy pools. Minibosses drop coin purses that are several times the value of standard enemy drops, but they also have longer respawn timers, so the per-minute yield is comparable to the Spa loop at the cost of higher risk. Players who chain all three loops in a single session tend to clear the 20-slot tier in under an hour.
The trick to efficient coin farming is to never spend coins on anything that doesn't feed back into the slot upgrade path. Health potions purchased at the Spa are an investment, but cosmetic purchases from Looter's shop early in the run are a coin sink that delays the slot grind. Hold cosmetic purchases until the capacity curve flattens.
The Fastest Route to Ten Slots
The Well Dweller ten slots trinket achievement is the easiest capacity trophy in the game, and the route to it is straightforward if you sequence your pickups correctly. The fastest path runs through the Dark Garden, the first Workshop visit, and a single backtrack through the Webdrench Inn region.
Step-by-Step Path to the Ten Slots Trophy
The sequence below assumes a first-time player who has just acquired the matchstick ability and is exploring the opening region. The route is designed to hit the Workshop before the first boss so that the capacity upgrade is active when the boss arena opens.
| Step | Action | Why It Matters |
|---|---|---|
| 1 | Pick up your first 2-3 trinkets in the Dark Garden | Establishes the Hobby Collector trophy and seeds your loadout |
| 2 | Defeat the Groundskeeper boss | Unlocks the first Workshop access path |
| 3 | Visit the Workshop and spend coins on the first slot tier | This is the actual Ten Slots trigger |
| 4 | Backtrack through the Webdrench Inn for any missed pickups | Fills the newly unlocked slots immediately |
| 5 | Push toward the Lady of the Drains boss | Tests the expanded loadout |
The Workshop visit is the only step that actually triggers the trophy, but the surrounding pickups ensure that the new slots have something to fill. A player who triggers the trophy with empty slots still gets the achievement, but they miss the build-defining benefit of having an expanded active loadout before the second boss.
Common Mistakes That Delay the Trophy
The most frequent delay is spending coins on Looter's shop trinkets before the first Workshop visit, because the shop pulls from the same coin wallet that funds the slot upgrade. Players who buy every available trinket from the shop in the first hour often arrive at the Workshop with insufficient coin to cover the first tier, which pushes the trophy to mid Act 2 instead of end of Act 1.
The second common mistake is backtracking to the Dark Garden for redundant pickups before the Workshop unlocks. The Dark Garden is dense with trinkets, but collecting them in advance of the slot upgrade just bloats the inventory count without affecting the active loadout. Wait for the Workshop before farming the region clean.
The third mistake is selling trinkets to Looter instead of holding them. Every trinket contributes to the Expert Collector counter, and selling one means re-farming it later for the 32-trinket roster. Hold everything, even duplicates from the shop, because the counter doesn't care about duplicates — it cares about the total.
Mid-Game Expansion: From 10 Slots to 30 Slots
Crossing the 10-slot threshold opens the mid-game build layer, where mix-and-match layering becomes the dominant strategy. The path from 10 to 30 slots is the most cost-efficient stretch in the upgrade tree, and it's the phase where most players discover the trinket tier list for their preferred playstyle.
Tier Categories and How Slots Interact With Them
Trinkets in Well Dweller fall into three functional tiers: combat, traversal, and utility. Combat trinkets amplify the matchstick damage loop, traversal trinkets extend Glimmer's movement options, and utility trinkets modify the coin economy or the healing cycle. The Well Dweller trinket tier list for a given playstyle is dominated by combat trinkets in the early game, balanced by traversal trinkets in the mid-game, and rounded out with utility trinkets in the late game once the coin grind softens.
| Trinket Category | Early-Game Priority | Mid-Game Priority | Late-Game Priority |
|---|---|---|---|
| Combat | High | Medium | Medium |
| Traversal | Low | High | Medium |
| Utility | Low | Medium | High |
The mid-game priority shift toward traversal is what makes the 10-to-20 slot tier feel transformative. The new slots aren't just additive — they unlock the mix and match trinkets combinations that define the late-game build, and that transformation only happens once the slot count crosses 20. According to the Well Dweller inventory slots guide, the 20-slot threshold is the most common breakpoint where players feel the build layer click into place.
Coin Strategy for the 10-to-30 Slot Push
The mid-game coin strategy is to chain two farming loops in a single session and to use the Spa healing cycle as a recovery buffer between loops. The Dark Garden sweep and the Spa loop together cover the 10-to-20 slot tier for any player who runs both routes in a focused hour. The 20-to-30 slot tier requires the heavier Act 2 enemy pools, which is where the miniboss loop becomes the dominant coin source.
Players who push the mid-game coin grind efficiently tend to clear the 30-slot mark before the Starsinger boss fight, which means the late-game build layer is fully online before the third act opens. That timing is a major quality-of-life improvement, because the late-game bosses are tuned against a full loadout, and arriving at the first late-game arena with 30 active slots is the difference between a smooth clear and a repeated retry.
Late-Game Expansion: From 30 Slots to 50 Slots
The Well Dweller 50 slots unlock milestone is the most expensive capacity upgrade in the game, and it's the trophy that separates a casual trinket collector from a completionist. The 30-to-50 stretch requires a dedicated coin grind, a careful read on the late-game enemy economy, and a willingness to revisit miniboss zones on cooldown.
The Late-Game Coin Economy
Late-game coins flow from three sources: minibosses, treasure rooms, and the late-game enemy pools that unlock once the player crosses into the Queen's antechamber region. The miniboss loop is still the highest per-kill yield, but the respawn timer stretches in the late game, which means the loop becomes less efficient over time. The treasure rooms are a flat one-time yield, so they front-load the late-game coin wallet but don't sustain a grind.
The late-game enemy pools are the most reliable long-term coin source once the player has access to the deepest regions of the kingdom. According to the Well Dweller trinket capacity guide, the deepest enemy clusters drop coin purses that are roughly twice the value of the Act 2 pools, and the respawn timer is shorter than the late-game miniboss loop, which makes them the dominant late-game farming target.
Trinket Upgrades vs Slot Upgrades: Where to Spend Coins
The late-game coin wallet has to fund two parallel tracks: slot upgrades and trinket upgrades. The Fully Stocked achievement requires every held trinket to be maxed, which means a portion of the late-game coin flow must feed the upgrade counter rather than the slot counter. The optimal split is roughly 60% slot upgrades and 40% trinket upgrades for a player who wants to clear both the 50 slots trophy and the Fully Stocked trophy in a single run.
| Coin Allocation | Slot Upgrades | Trinket Upgrades | Reasoning |
|---|---|---|---|
| 60/40 split | Yes | Yes | Clears both trophies in one run |
| 80/20 split | Yes | No | Prioritizes slot trophy, delays trinket trophy |
| 40/60 split | No | Yes | Prioritizes build strength, delays slot trophy |
The 60/40 split is the recommended default for a single-run completionist, because it clears both trophies without forcing a post-game coin grind. Players who prioritize the build layer over the trophy layer tend to prefer the 40/60 split, which is faster in the moment but pushes the slot trophy to a second run.
Trinket Tier List and Loadout Recommendations for Maximum Slot Efficiency
Slot efficiency is a function of how well the held trinkets interact with the active combat loop, and the Well Dweller trinket tier list shifts depending on which boss is up next. The tier list below is the community consensus as of the launch window, and it reflects the strongest mix-and-match combinations for each phase of the run.
Tier List by Phase
| Phase | S-Tier Trinkets | A-Tier Trinkets | B-Tier Trinkets |
|---|---|---|---|
| Early Game (Acts 1-2) | Matchburn boosts, basic damage amps | Coin finders, small traversal helpers | Cosmetic-adjacent utility |
| Mid Game (Act 2-3) | Heavy damage amps, traversal cores | Healing modifiers, mid-tier utility | Boss-specific situational picks |
| Late Game (Act 3+) | Build-defining amps, full traversal sets | Hybrid combat-traversal, coin multipliers | Redundant utility fillers |
The tier list shifts toward traversal in the mid-game and toward build-defining amps in the late game, which is why a 10-slot loadout in Act 1 is fundamentally different from a 30-slot loadout in Act 3. The slot expansion doesn't just give you more options — it lets you layer options that wouldn't fit in a smaller loadout, and that layering is the core of the late-game build identity.
Loadout Swaps for Specific Bosses
The late-game boss encounters reward loadout swaps that exploit specific boss weaknesses, and the 50-slot ceiling gives you enough room to keep a dedicated boss loadout alongside your exploration loadout. The Well Dweller best trinket build guide recommends maintaining at least two distinct loadouts by the late game: an exploration set that prioritizes traversal and survivability, and a boss set that maximizes damage output against a specific encounter.
| Boss Encounter | Recommended Trinket Focus | Why It Works |
|---|---|---|
| Gravedigger | Heavy damage amps | Boss has long punish windows |
| Starsinger | Matchburn duration extenders | Boss punishes short damage bursts |
| Silver Doll | Traversal amplifiers | Boss arena requires vertical movement |
| Forest King | Hybrid combat-traversal | Boss combines both challenge types |
| Queen | Full damage amp stack | Final boss favors raw output |
The boss loadout swap is a late-game luxury that only becomes practical once the slot count crosses 30, which is another reason why the 30-slot threshold is the most consequential capacity milestone in the game. A player who hits 30 slots before the late-game bosses opens can rotate loadouts between encounters without losing their exploration build, and that flexibility is what separates a smooth late-game clear from a frustrating one.
Frequently Asked Questions
How long does it take to reach the Well Dweller ten slots trinket milestone?
The Ten Slots achievement typically pops within the first 90 minutes of a focused run, because the first Workshop slot tier is the cheapest in the upgrade tree. A player who picks up 2-3 trinkets in the Dark Garden, defeats the Groundskeeper, and visits the Workshop with a modest coin reserve will hit the trophy before the second boss. The exact timing depends on how efficiently the player clears the opening region, but a focused route clears the milestone faster than a wandering run.
What is the cheapest way to unlock the Well Dweller 50 slots unlock?
The cheapest route to 50 slots chains the Dark Garden enemy sweep, the Spa healing loop, the Act 2 miniboss loop, and the late-game enemy pools in a single dedicated grind. The 30-to-50 stretch is the most expensive tier in the upgrade tree, so the dedicated grind takes longer than the early tiers, but the late-game enemy pools are dense enough to make the per-minute yield competitive with the early-game loops. Plan the grind for a window when you can sustain 30-45 minutes of focused farming without boss interruptions.
How do trinket upgrades interact with slot upgrades in Well Dweller?
Trinket upgrades and slot upgrades pull from the same coin wallet, so they compete for the same resource. The optimal allocation splits roughly 60% to slots and 40% to upgrades for a single-run completionist, because that ratio clears both the 50 slots trophy and the Fully Stocked trophy without forcing a post-game grind. Players who prioritize the build layer over the trophy layer can shift the ratio to 40/60, but that pushes the slot trophy to a second run. The two tracks don't interfere mechanically, but they do compete economically.
Is the Well Dweller workshop upgrade path the same as the slot path?
Yes, every slot upgrade in the game flows through the Workshop, so the Workshop upgrade path and the slot path are the same system. The Workshop sits in a fixed region of the kingdom, and it accepts coins only — there is no alternate currency, no rare material requirement, and no boss-gated upgrade path. A player who has coins and has reached the Workshop can buy any tier they can afford, which makes the Workshop the single most important hub for the entire trinket economy.
Does the Well Dweller trinket tier list change between playthroughs?
The tier list is stable across runs because the underlying trinket stats and the boss patterns don't change between playthroughs, but the priority of any given trinket can shift based on the player's build focus. A player who prioritizes raw damage output will rank combat trinkets higher than a player who prioritizes exploration speed, and that priority shift is the main reason the tier list reads differently for different players. The community consensus tier list favors combat trinkets in the early game, traversal trinkets in the mid game, and build-defining amps in the late game, but the exact ordering within each phase is build-dependent.