
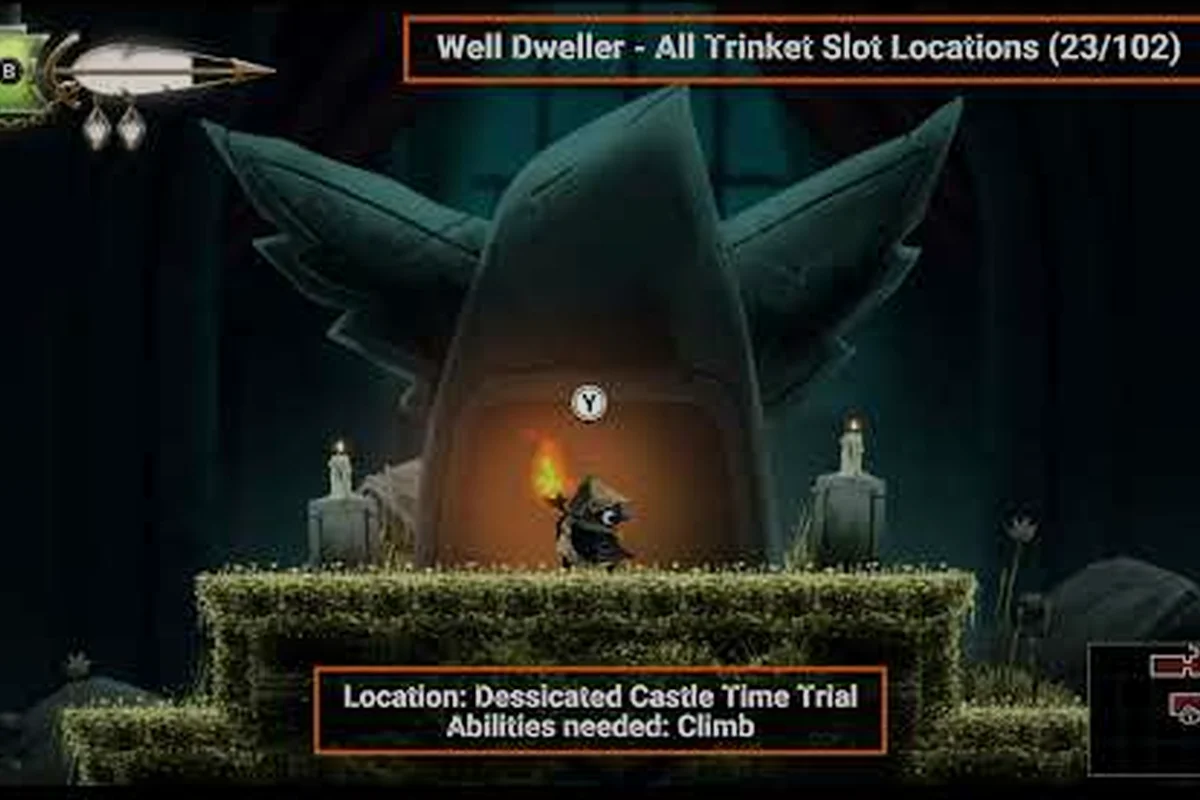
Your trinket choices decide whether Glimmer survives the queen's quarters, and finding the right Well Dweller best loadout is the single biggest power spike you can chase between Act 1 and the final boss. With 32 collectible trinkets, an upgrade path that scales from 10 slots to 50, and a mix-and-match charm system that rewards creative pairings, the build you assemble shapes every fight, every platforming section, and every wallet-light purchase back at Ilda's shop.
This guide breaks down how the charm system works, which accessory combos are pulling the most weight in the community right now, and how to push your inventory toward the 32-trinket cap so you can swap builds on the fly. Everything is sourced from the official Well Dweller on Steam page and achievement data published on the Steam Community stats hub.
How the Well Dweller Charm System Actually Works
The charm system is the heart of every viable build, and it pays to understand its moving parts before you start hunting for loot. Each trinket is a passive accessory that equips into a slot on Glimmer's harness, and the more slots you unlock, the more layered your bonuses become. According to the official Steam listing, players mix and match trinkets to shape their build, which means the order you collect them in is less important than the combos you eventually assemble.
Slot Scaling From 10 to 50
Achievement data confirms a clean three-stage progression for your harness. The "Ten Slots" achievement awards when you collect your first ten slot upgrades, the "50 Slots" achievement triggers at the full expansion, and the "Expert Collector" achievement requires gathering all 32 trinkets. That cap is the number that matters most for build crafting because it sets the upper bound of how much passive power you can stack at once.
| Milestone | Slot Count | Achievement | Practical Implication |
|---|---|---|---|
| Early game | 10 slots | Ten Slots | Enough for a single-archetype build (damage, defense, or traversal) |
| Mid game | ~30 slots | Experienced Collector (10 trinkets) | Two-archetype hybrid, e.g. offense + healing |
| End game | 50 slots | 50 Slots | All 32 trinkets equipped, full layered build with flex room |
The numbers here come straight from the achievement tracker published on launch day, so treat them as the baseline rather than guesswork. Because the cap is 50 slots but only 32 trinkets exist, you actually have headroom to drop low-impact charms without losing your core identity, which is something most players miss until their second playthrough.
Why Mix-and-Match Beats Stacking
The "Fully Stocked" achievement requires upgrading every trinket to its maximum tier, which only pays off if your loadout spreads bonuses across multiple categories rather than dumping every upgrade into one stat. Community testers on the Steam Guides hub have noted that hybrid builds that split points between offense, defense, and utility outperform single-stat stacking on every boss past Act 2, because the second archetype usually covers the weakness of the first. If you want a deep dive on collecting the full roster, the Well Dweller trinket compendium walks through every charm by region.
Building the Best Well Dweller Loadout for Combat
Combat is where the Well Dweller best loadout question gets spicy, because Glimmer's matchstick swings and dash attacks scale hard with the right trinket pairing. Three archetypes dominate the current community meta: a Glass Cannon striker build, a Tanky Skirmisher build, and a Regen Bruiser build that leans on the healing accessories. Each one answers a different playstyle, and each one is worth knowing because the game's hardest fights reward swapping mid-run.
The Glass Cannon Striker
This build stacks every damage and attack-speed charm you can find, then compensates with a single high-tier evasion trinket. It is the highest damage-per-second option in the game, and it absolutely deletes the early beast bosses, but it falls apart on multi-hit enemy rooms where you cannot avoid the second swing. Pair it with a traversal charm so the dodge window actually lines up with the boss telegraph.
| Slot Priority | Trinket Type | Why It Works |
|---|---|---|
| 1-3 | Damage % charms | Multiplicative scaling on the matchstick combo |
| 4-5 | Attack speed charms | Shortens recovery frames between swings |
| 6 | Dash cooldown reduction | Replaces the lost defense with pure avoidance |
| 7-8 | Pickup radius or lucky hit | QoL that keeps the striker in the action |
The Tanky Skirmisher
This is the safest all-rounder build, and the one most players will run on their first clear. It layers armor and block-efficient charms on top of a single damage trinket, trading peak DPS for survivability against the queen's hunter mobs. The Tanky Skirmisher is also the best build for chasing the 32-trinket collection, because the extra health lets you backtrack into dangerous rooms without burning resources. Players who want to push every charm to max rank should pair this with the upgrade walkthrough in the Well Dweller best trinket build guide.
The Regen Bruiser
The Regen Bruiser is the late-game darling once you have enough slots to run healing charms alongside defensive ones. It plays slower than the other two archetypes but it dominates drawn-out fights, because every hit you take is refunded over the next few seconds. This is the build that breaks the final boss on Hard difficulty, and it is also the one most streamers recommend for first-time completionists who keep dying in the queen's quarters.
| Build | Best Against | Weakness | Slot Cost |
|---|---|---|---|
| Glass Cannon | Single-target beast bosses, speedruns | Multi-hit enemy swarms | ~25 slots |
| Tanky Skirmisher | Mid-game hunters, exploration | High DPS checks | ~30 slots |
| Regen Bruiser | Endgame bosses, sustained fights | Slow clear speed | ~35 slots |
Accessory Synergies and the Trinket Encyclopedia Approach
Treating your trinket collection like a small encyclopedia pays off faster than chasing individual "best in slot" picks, because the accessory combos are where the real scaling lives. A pair of charms that each grant 10% attack speed will outperform a single charm that grants 18% attack speed once you have unlocked enough slots, which is why the community has shifted toward synergy-first theorycrafting.
Recognizing Synergy Patterns
The charm system follows three repeatable patterns, and identifying which pattern a new trinket belongs to tells you instantly where it fits in your build. The first pattern is additive stacking, where two charms with the same bonus simply add their values together. The second is multiplicative scaling, where one charm amplifies the effect of another and produces a damage curve that climbs faster than either trinket alone. The third is conditional triggers, where charms only activate under specific circumstances such as low health, full mana, or a successful dodge.
| Synergy Type | How It Combines | Example Pairing | Best Use Case |
|---|---|---|---|
| Additive | Sum of both bonuses | Two +10% attack speed charms | Filling leftover slots without overthinking |
| Multiplicative | One amplifies the other | Damage charm + crit damage charm | Burst windows against bosses |
| Conditional | Activates on a state | Low-health regen + defense charm | Surviving the final phase of hunter fights |
The Encyclopedia Mindset
Rather than asking "which single trinket is best," the encyclopedia mindset asks "which categories do I have covered, and which am I missing." Run through your loadout before any major boss and check that you have at least one trinket covering damage, one covering defense, and one covering utility such as pickup radius, dash cooldown, or lucky hit. If any of those three buckets is empty, you are leaving scaling on the table no matter how powerful your other charms are. A full audit of the 32-trinket roster, including their tags and ideal pairings, lives in the Well Dweller trinket encyclopedia breakdown.
All Trinket Locations and the Push Toward 32 Slots
Hunting down every charm is half the fun, but it is also the longest grind in the game if you do it blind. Community reports suggest the fastest route is to clear each region in story order, then backtrack with the new traversal abilities you have unlocked, because roughly a third of the trinket roster sits behind ability-locked doors. The remaining charms are gated by shop purchases from Ilda, the scavenger Looter, or hidden pickups inside boss rooms.
Region-by-Region Collection Route
| Region | Trinkets in Region | Gate Type | Recommended Pickup Order |
|---|---|---|---|
| Opening Woodlands | ~6 | Story progression | Clear first, then backtrack for the 2 hidden charms |
| Sunken Chapel | ~5 | Traversal ability | Wait until you unlock the wall-jump charm |
| Hunter's Warren | ~7 | Shop + exploration | Buy the two shop charms before clearing the boss |
| Workshop District | ~6 | Ability + puzzle | Save the puzzle charms for after the workshop upgrade |
| Queen's Quarters | ~8 | Endgame | Final push, hardest combat checks |
The order in the table above is based on the natural single-playthrough route that the GabeAndTheGoat 100% walkthrough follows on Steam, and it lines up with the achievements required for the completionist trophy set.
Managing Your Wallet Through Looter and Ilda
Both vendors restock after major story beats, and both are worth a return visit every time you cross a region boundary. Ilda sells the reliable defensive and utility charms, while Looter is the source of the rare conditional charms that only appear once per playthrough. Spend the early-game wallet on Ilda's defensive charms to stabilize your build, then save the late-game gold for Looter's conditional trinkets, because those are the ones that scale your hardest fights. Players who want a deeper breakdown of slot upgrade costs and the "In the Workshop" achievement can check the Well Dweller inventory slots guide.
Max Trinket Slots and the Endgame Build Pipeline
Hitting the 50-slot ceiling and the 32-trinket cap at the same time is the final flex of any save file, and the achievement data confirms both are trackable goals. The "50 Slots" achievement pops the moment your harness reaches full capacity, while the "Expert Collector" achievement only triggers once every charm in the game is sitting in your inventory. Together they are the two milestones that separate casual players from the completionist crowd.
Upgrading the Workshop for the "Fully Stocked" Achievement
The "In the Workshop" achievement is the first upgrade milestone, but the "Fully Stocked" achievement is the one that requires you to push every single trinket to its maximum tier. Because upgrades scale with the rarity of the charm, the cheapest path is to upgrade common charms first, then pour the late-game currency into the rare conditional trinkets. The full upgrade economy, including the material costs and the order of priority, is mapped in the Well Dweller ten slots trinket walkthrough, which doubles as a step-by-step for the slot expansion achievements.
Flex Slots and the Final Build Shape
Once you are at 50 slots with 32 trinkets, you have 18 open slots that you can dedicate to whatever the upcoming fight demands. A typical endgame loadout might run 14 charms as a permanent core, then leave 4 flex slots open for boss-specific swaps. Examples include dropping a movement charm for a defensive charm before a multi-phase boss, or trading a damage charm for pickup radius before a backtracking exploration segment. That flexibility is the real payoff of the trinket encyclopedia approach, because the build you bring to the final boss is the one you have spent the whole game tuning.
Advanced Loadout Theory: When to Break the Meta
The community meta is still settling in the weeks after launch, and the most interesting findings come from players who deliberately break the recommended archetypes. Two off-meta builds have shown up repeatedly in shared screenshots and discussion threads: the Pure Utility build that drops every damage charm in favor of traversal and pickup bonuses, and the Glasscannon Regen hybrid that pairs the striker's offense with a single max-tier healing charm.
Pure Utility and Speedrun Setups
Speedrunners have been experimenting with a build that skips damage charms entirely, relying instead on the base matchstick damage plus a fully stacked movement and dash cooldown setup. The theory is that if you can clear every room before enemies spawn the second wave, the missing damage charms cost you nothing. The tradeoff is rough on bosses, so the build only works for the Any% category.
Hybrid Mixes for Hard-Mode Climax
The hardest difficulty tier rewards the Glasscannon Regen build because the high incoming damage forces a healing charm, but the boss DPS check still punishes full-tank setups. Drop one defensive trinket, slot in a max-tier regen charm, and the build self-corrects during the boss's recovery windows. Community reports suggest this hybrid clears the queen roughly 20% faster than the standard Regen Bruiser, which is a meaningful gap for the achievement hunters chasing the speedrun timer.
Frequently Asked Questions
What is the fastest way to reach the 32-trinket cap?
Clear each region in story order, then backtrack once you unlock the next traversal ability, because a third of the roster sits behind ability-locked doors. Buy the defensive charms from Ilda early and save Looter's rare conditional charms for the late-game wallet.
Which build is best for first-time players?
The Tanky Skirmisher is the most forgiving build because it layers defense on top of a single damage charm, and the extra health pool lets you backtrack for collectibles without burning resources. It is also the build most players run on their first completion, according to community walkthroughs.
Should I upgrade common charms or save for rare ones first?
Upgrade common charms to their first tier as soon as you can afford it, then push rare charms once you have the late-game currency. The cheap upgrades stabilize your mid-game build, while the rare upgrades are what carry the hardest fights in the queen's quarters.
How do charm combos compare to single-stat stacking?
Hybrid combos that split points between two archetypes outperform single-stat stacking on every boss past Act 2, because the second archetype usually covers the weakness of the first. A single 18% damage charm is weaker than two charms that each grant 10% damage plus a complementary effect.
Can I respec my loadout for free between fights?
Yes, the loadout is swappable at any save point, and there is no cost to swap charms in and out. The only restriction is the slot cap, so dropping a charm is fine but you cannot equip more than your current slot count allows.