
Locations
Well Dweller map and locations guide covering Dark Garden, Webdrench Inn, the drains, the deep and the castle, with locked-door gates and required abilities.
Introduction
Well Dweller’s kingdom is a single interlocking map wearing regional costumes: the Dark Garden teaches combat in hedges, Webdrench Inn runs a tight escape-room loop, the drains spiral vertically into Lady of the Drains territory, the deep floods behind the water gate and the abandoned castle hangs above everything as Looter’s shop-hub. Doors are honest — water shimmer means vessel, high ledge means Soar, dark corridor means matchstick budget — so reading the map becomes a matter of noticing which lock you are looking at. This hub catalogs each region’s gate requirement, its landmark anchors (spa, camp, workshop) and the loop-backs that turn apparent dead ends into shortcuts once the right ability arrives in hand.
Region Gate Map
| Region | Gate | Landmark | Yield |
|---|---|---|---|
| Dark Garden | None (start) | Groundskeeper arena | Tutorial + first slots |
| Webdrench Inn | Mid-route access | Escape rooms | Late Night Guest beat |
| The Drains | Vertical descent | Lady arena | Water route approach |
| The Deep | Water vessel | Flooded halls | Spirit + page branches |
| Abandoned Castle | Upper kingdom | Looter shop + spa | Workshop loop hub |
Region Guide
Dark Garden
Opening playground and first arena
Webdrench Inn
Escape-room loop tied to an achievement
The Drains
Vertical descent with pipe logic
The Deep
Water-gated flooded kingdom
Abandoned Castle
Upper-kingdom shop and workshop loop
Queen’s Castle
Upper spire approach and finale arena
Core Mechanics
The map’s core mechanic is honest gating: every wall advertises its key. Water shimmer answers to the vessel, ledge height answers to Soar, dark budgets answer to matchstick discipline, and chasms answer to dash — nothing is hidden behind arbitrary quest flags, so a written route stays valid across playstyles without patch-note risk. Loop-back design converts one-way drops into shortcuts after ability pickups, which is why the same corridor feels hostile at hour two and convenient at hour twenty: geometry never changed, only your access vector did. Landmark triangulation (spa, camp, workshop, Looter) supplies the orientation system the otherwise cohesive kingdom deliberately withholds — no minimap markers at launch means your mental map, anchored on rest spots, IS the navigation tool you actually have.
Advantages
Regional identity is strong without fragmenting the world: garden hedges, inn puzzle-boxes, drain vertigo and flooded halls all read instantly at a glance, yet every exit hooks back into a shared spine so the kingdom never becomes disconnected fast-travel islands. Gate transparency eliminates the genre’s worst habit — lost-at-sea wandering — because a locked door always names its unlock visually. Shortcut rewards feel authored rather than procedural: loop-backs land exactly when a new ability would make them satisfying. And landmark density is humane — spa, camp and shop anchors sit close enough together that logistics errands never consume a whole play session, which quietly protects exploration tempo for players who hate menu-heavy resource runs between fights.
Challenges & Weaknesses
Honest friction: the interconnected map without a built-in minimap means first-time players WILL get disoriented — our text routes and the community interactive map are load-bearing supplements, not luxuries. Some region transitions blend visually in dark-theme play (drains into deep especially), and players color-blind or playing handheld in bright light may struggle with gate-shimmer tells. The castle’s balcony camera hiding archers is a genuine fairness wart that guide text can warn about but not fix. Vertical shortcuts discovered early but unlocked late linger in your head as open TODOs — satisfying eventually, mildly nagging until then. And Webdrench Inn’s timed escape beats clash slightly with the game’s otherwise relaxed save-anytime promise.
Frequently Asked Questions
Do I need a real map to finish Well Dweller?+
Where is the workshop and spa?+
Which regions should I explore first?+
Quick Tips
Anchor every excursion on a rest landmark — spa, camp or workshop — and navigate outward from it in loops that return home; players who treat landmarks as compass points finish the kingdom with a clean mental map, while linear wanderers arrive at mid-game with three overlapping half-remembered corridor textures and no reliable orientation at all.
Light every new shaft and tunnel before you drop or swim into it — the region signature cheap death is landing blindly into a lit hazard your matchstick would have revealed from the lip above, and one preparatory input at every unexplored edge deletes that entire failure category permanently from your runs.
Mark gate doors mentally by lock type as you meet them — water shimmer, high ledge, dark budget, wide chasm — so when an ability finally unlocks you already know exactly which four doors to walk back to, turning late-game cleanup into a confident victory lap instead of a vague cloud of forgotten dead ends.
Featured
Well Dweller Gravedigger Area: Starsinger & Underground Path
Reach the Well Dweller gravedigger area with confidence — Starsinger approach, underground tunnels, the Look Out Tower climb, and the safest entry from the inn.

Well Dweller All Areas: Region Progression, Secrets & Entrances
Tour every Well Dweller all areas region in order — Dark Garden, Webdrench Inn, Drains, the Deep, and the hidden entrances most first runs never find.
Well Dweller Kingdom Areas: Forest, Secrets & Region Order
Map every Well Dweller kingdom areas region with unlock order, hidden rooms, and the locked doors each new traversal ability finally opens for Glimmer.
All Articles
Well Dweller Workshop Location: Spa, Camping & Upgrade Spots
Find the Well Dweller workshop location fast — where the spa, camping, and Look Out Tower sit, plus routes from Abandoned Castle to Shrine of the Seven Sons.
Well Dweller Drains Map: Lady of the Drains & Hidden Routes
Master the Well Dweller drains map layout — every Lady of the Drains chamber, above-the-kingdom shortcut, and underground passage that opens new map markers.
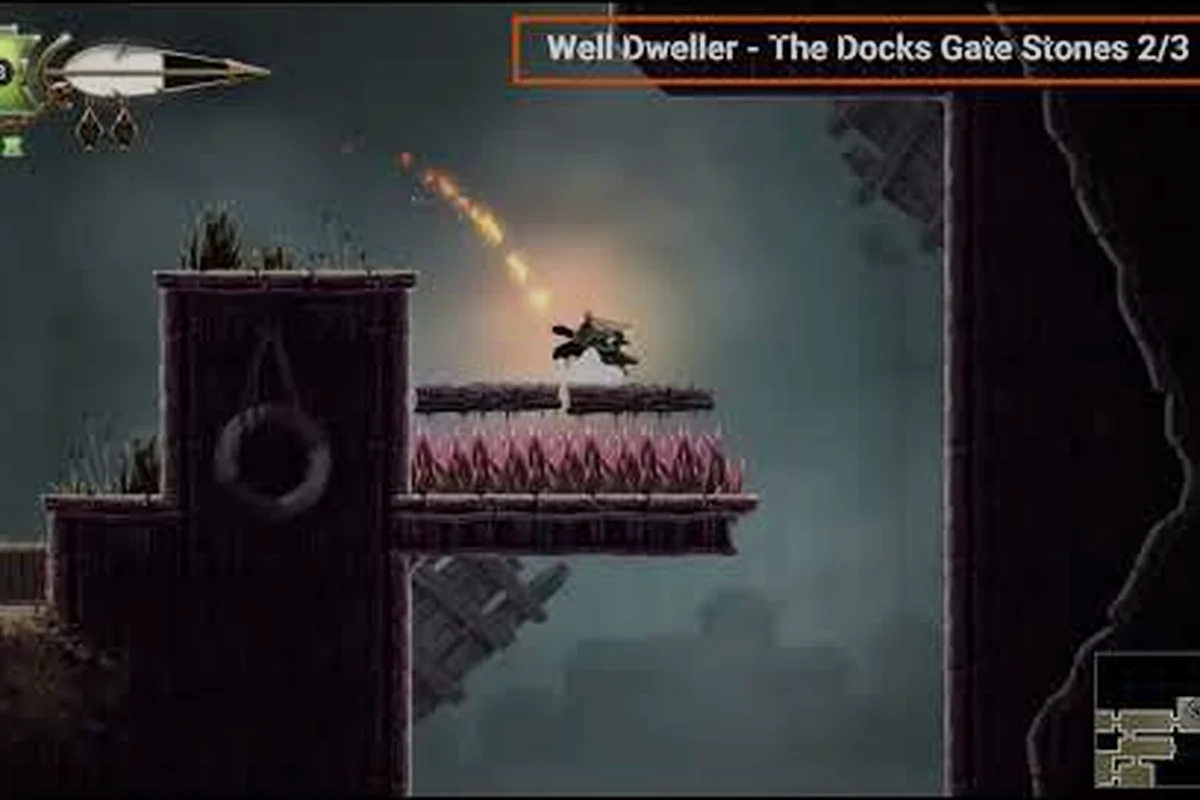
Well Dweller Secret Passages: Hidden Routes & Area Connections
Uncover every Well Dweller secret passages route — concealed workshop doors, the hidden spa, and wall breaks that stitch the kingdom map together for 100%.

Well Dweller Map Exploration Guide: Fast Travel & Lore Pages
Use this Well Dweller map exploration guide for warp points, fast travel routes, lorekeeper page pickups, and where the Dollmaker's house really hides.