
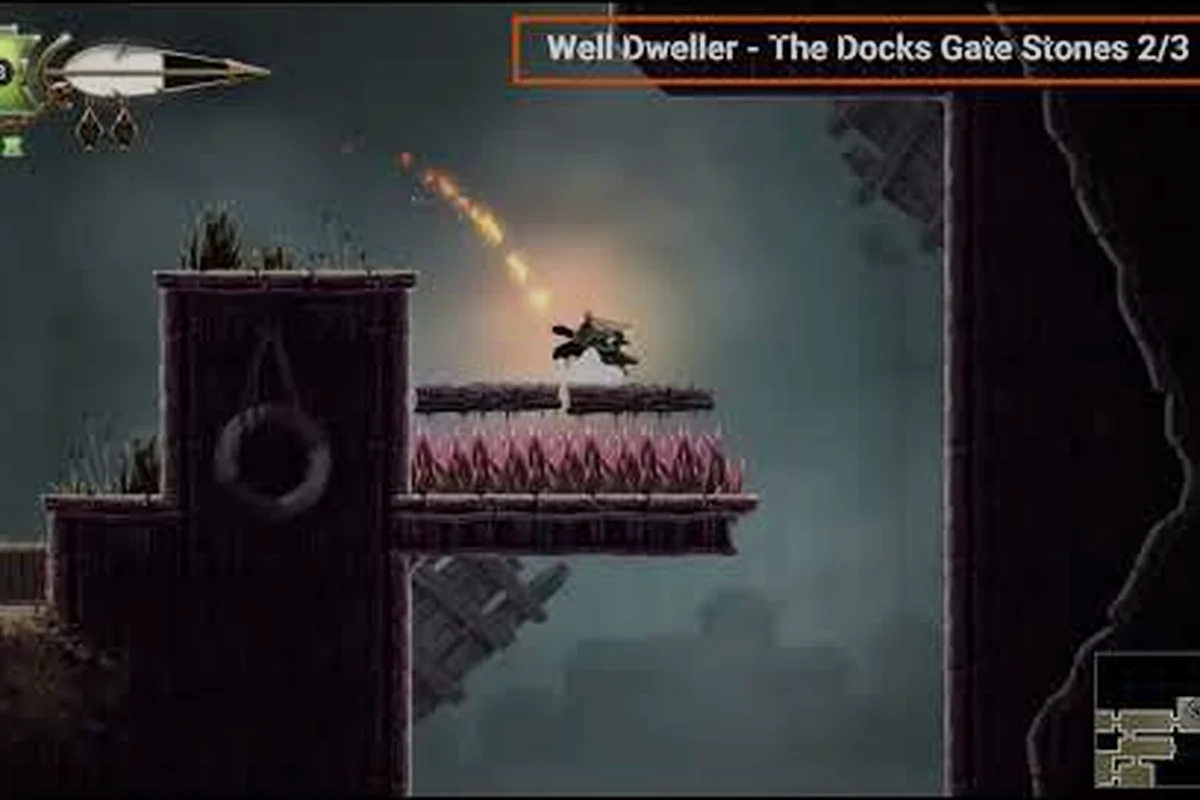
The kingdom Glimmer explores in Well Dweller is stitched together by more than the obvious hallways. A whole second skeleton of Well Dweller secret passages runs behind the rot, behind the wallpaper, and behind the walls you walked past twice before you realized they were never solid. Knowing where those hidden doors sit is the difference between a 70% save file and a clean 100% run.
Below is a complete map of the concealed routes, the wall breaks, and the off-radar services they unlock — from the workshop tucked behind a breakable facade to the spa most players never see at all. Every passage below is sourced from the community interactive map, the 100% walkthrough, and the achievement list on the official Well Dweller Steam page, and cross-referenced with player reports to confirm what is missable and what is revisitable.
Reading the Hidden Layer of the Well Dweller Map
The surface map of the kingdom is misleading. What looks like a closed wall in the Dark Garden, a sealed grate in the Drains, or a dead-end corridor in the Lookout Tower is often just a passage hidden behind destructible scenery. Glimmer's matchstick lights the immediate area, but it is the dash, the glide, and the late-game traversal abilities earned from beasts that let you cross these gaps in the first place.
That is why most players miss the layered routes entirely on a first playthrough. The map appears to be a series of dead ends until a new ability lets you cross a previously impassable chasm — and suddenly three earlier rooms connect into a loop. The trick is to think of every region as having two maps: the one you can see on screen, and the one stitched by the Well Dweller area connections behind the walls.
How Secret Passages Are Hidden
The game uses four consistent camouflage methods for concealed routes. Recognizing them on sight is half the battle.
| Camouflage Type | How It Looks | How It Reveals | Found In |
|---|---|---|---|
| Breakable Wall | Same texture as the rest of the room, but slightly darker | Strike it with the matchstick or a melee swing | Dark Garden, Webdrench Inn, Dollmaker's House |
| Fake Bookshelf | A tall shelf with a faint horizontal crack at the base | Push from the side; requires the Looter key on some entries | Webdrench Inn, Abandoned Castle |
| Drainage Grate | A floor grate in a flooded corridor | Drop through once the Drain Key is acquired from the Lady | The Drains, the Deep |
| Foliage Veil | Hanging moss or curtain that sways when approached | Walk through; no ability required | Dark Garden, the Lookout Tower |
The Drain Key itself is dropped by the Lady of the Drains — a boss whose defeat gates the entire southern half of the map. Until that fight is cleared, every drainage-grate passage in the southern corridor stays sealed. The matchstick-lit walls in the Dark Garden are the only passages available from minute one.
Why Missing One Passage Can Block Three Collectibles
The achievement list on the official Steam page lists 41 achievements, including several that require visiting every region in a single chain. A single missed Well Dweller secret passage in the Lookout Tower, for instance, can hide a story page, a sibling, and a trinket behind the same false wall. Players chasing Once Upon a Time... (collect a story page) or Solo Spirit (return a spirit) often find the missing collectible is not lost — it is locked behind a route they never opened.
The same is true for the Ten Slots achievement, which requires finding all 10 trinket slots scattered through the kingdom. Several slots sit on the far side of passages that look optional until you check an interactive map and realize they are required for completion. Players chasing a 100% file should treat every destructible wall as a possible gating object, not a flavor detail.
The Workshop and the Spa: Two Hidden Services Most Players Miss
The two most important hidden services in the kingdom are the workshop and the spa, and both sit behind passages that do not announce themselves on the HUD. A first-time player will not see a waypoint marker for either until they have already walked past the entrance once. This section breaks down where each one is, what ability you need to reach it, and why the answer to the question of where the workshop and spa are located is the same route, viewed from opposite ends.
Well Dweller Where Is the Workshop
The workshop sits in a sub-level beneath the Webdrench Inn, accessible only through a fake bookshelf that opens once you have the Looter companion following you. On the surface, the inn looks like a single-story tavern; the second floor is reached by climbing the back stairs, and the workshop entrance is the bookshelf at the end of the upstairs hall.
| Detail | Data |
|---|---|
| Region | Webdrench Inn (sub-level) |
| Entrance Type | Fake bookshelf, second floor east wing |
| Requirement | Looter must be following you |
| Services | Trinket crafting, upgrade station, the In the Workshop achievement trigger |
| Revisitable | Yes, after first activation |
The workshop is the only place where the In the Workshop achievement can be earned, and it ties into the broader trinket economy covered in our trinket slots and inventory guide. If you walk into the inn before recruiting Looter, the bookshelf is just scenery; the moment the scavenger joins the party, the shelf creaks open and a ladder drops into the workshop below.
Well Dweller Where Is the Spa
The spa is the single most frequently missed location in the entire kingdom, and the answer to Well Dweller where is the spa catches even experienced metroidvania players off guard. It sits in a sealed cavern behind the Dollmaker's House, reached through a wall break that only opens after defeating the Dollmaker himself.
| Detail | Data |
|---|---|
| Region | Dollmaker's House (back cavern) |
| Entrance Type | Breakable wall behind the boss arena's back wall |
| Requirement | Defeat the Dollmaker boss |
| Services | Full heal, temporary buff, one free revive per visit |
| Revisitable | Yes, but the buff refreshes only on a full bench reset |
The spa's full-heal function makes it the late-game answer to the resource pressure players feel after the Lady of the Drains and the Dollmaker fights. Its location is documented on the Steam Community interactive map guide but rarely in early text guides, which is why so many players report burning through their last heals on a boss they could have walked past to a free refill.
A Shared Route: The Inn-to-Dollmaker Loop
Here is the part the surface map does not tell you: the workshop sub-level and the spa cavern are the two endpoints of the same hidden highway. From the workshop, a breakable wall in the back room opens into a long horizontal shaft that runs under the Webdrench Inn courtyard, surfaces briefly in the Lookout Tower's basement, and then descends again into the Dollmaker's House back cavern where the spa sits.
| Leg | From | To | Trigger |
|---|---|---|---|
| 1 | Workshop back room | Courtyard shaft | Strike the back wall |
| 2 | Courtyard shaft | Lookout Tower basement | Drop through the grate (requires Drain Key) |
| 3 | Lookout Tower basement | Spa cavern | Defeat the Dollmaker, then push through the false wall |
Once the entire loop is open, the workshop and the spa are roughly 90 seconds apart on foot. That single shortcut transforms the late game, because the workshop's crafting station and the spa's heal become a single resting node you can rotate between fights. This is also the fastest farming loop for trinket slots and rare drops, and it pairs naturally with our coverage of the full kingdom area list for any player mapping the entire kingdom in one sitting.
Major Area Connections and How They Open
The kingdom's Well Dweller area connections form a hub-and-spoke layout, with the Lookout Tower at the center and six spokes radiating out to the Dark Garden, the Webdrench Inn, the Drains, the Deep, the Dollmaker's House, and the Abandoned Castle. Each spoke has at least one hidden passage, and several spokes are linked to each other by passages that bypass the central hub entirely.
| Region | Hub Connection | Hidden Exit | Ability Needed |
|---|---|---|---|
| Dark Garden | Surface path east | Breakable wall into Inn courtyard | None (start of game) |
| Webdrench Inn | Central hub west | Workshop ladder (fake bookshelf) | Looter recruited |
| The Drains | Central hub south | Drainage grate shortcut to the Deep | Drain Key |
| The Deep | Below the Drains | Vertical shaft back to Lookout Tower | Glide (beast ability) |
| Dollmaker's House | Central hub north | Back-wall break into the spa cavern | Defeat Dollmaker |
| Abandoned Castle | Late-game east wing | Foliage veil into the queen's approach | Dash upgraded |
The Lookout Tower acts as the central save room and fast-travel node for most of the run, but it is not required for every transition. Once the Glide ability is unlocked, for instance, the Deep can be reached from the Lookout Tower basement without ever re-entering the Drains. This shortcut is one of the most time-saving Well Dweller area connections in the late game, and it is invisible until you have the ability that opens it.
The Drain Key as a Single-Point Unlock
A surprising number of passages gate behind the Drain Key, which is why the Lady of the Drains fight has outsized importance for completionists. The same key opens the drainage-grate shortcut from the Drains to the Deep, the Lookout Tower basement grate, and one optional passage in the Dark Garden's flooded section. Losing the key is not possible (it is a permanent inventory item), but failing to realize how many doors it opens is the most common cause of stuck runs reported on the Steam Community guides.
Glide, Dash, and the Late-Gage Cascade
Three late-game abilities — Glide, Double Jump, and Phase Dash — each open a cluster of previously sealed passages. The cascade usually starts in the Deep, where Glide is earned from a beast fight, and ends in the Abandoned Castle, where Phase Dash is required to break through the foliage veil guarding the queen's approach. The full list of these ability-gated passages is what separates a 70% save from a 100% one.
| Ability | Source | Passages It Opens |
|---|---|---|
| Match Strike | Default | Breakable walls (the entire kingdom) |
| Dash | Early beast | Foliage veils in Dark Garden, Lookout Tower |
| Glide | Deep beast fight | Vertical shafts back to the Lookout Tower |
| Double Jump | Webdrench Inn miniboss | High ledges in the Abandoned Castle |
| Phase Dash | Late beast in the Dollmaker's House | Foliage veil into the queen's approach |
The 100% walkthrough by GabeAndTheGoat on the Steam Community mirrors this exact cascade: story pages, spirits, siblings, trinket slots, and boss order all fall into place once these five abilities are unlocked in sequence. The trick is to backtrack to every previously sealed region after each new ability, because the game almost never gives you a new ability without also opening two or three new routes you could not reach before.
Wall Breaks, Floor Grates, and One-Way Drops
Not every hidden passage in Well Dweller is two-way. Several are one-way drops, fall-throughs, or breakable floors that drop you into a region you cannot return from without a teleport or a backtrack through a different passage. Knowing which hidden transitions are one-way is critical, because backtracking through the wrong route can cost 10 to 15 minutes of dead time on a single boss run.
| Passage Type | Direction | Returns? | Risk |
|---|---|---|---|
| Breakable wall (Dark Garden) | Two-way | Yes | Low |
| Fake bookshelf (Webdrench Inn) | Two-way after Looter | Yes | Low |
| Drainage grate (Drains → Deep) | Two-way after Drain Key | Yes | Medium (fall damage) |
| Boss back-wall (Dollmaker) | One-way until spa cavern is open | Yes after spa | High (no heal before spa) |
| Foliage veil (queen's approach) | One-way | No (endgame) | High (point of no return) |
| Floor drop (Lookout Tower → Deep) | One-way | Yes via Glide shaft | Medium |
The foliage veil into the queen's approach is the only true point of no return in the game, and it sits behind the final Phase Dash upgrade. Crossing it locks you into the ending sequence, so completionists should finish every other objective — including the sibling rescue and story page chain — before breaking the veil.
How to Spot a One-Way Drop
One-way passages almost always have one of three visual tells. The first is a brighter light source on the far side, which is the game hinting that the room ahead is more important than the room behind. The second is a brief flash of background music shift as you approach the drop, a cue used in the Lookout Tower basement and the Dollmaker's House back hall. The third is a UI prompt that says "You cannot return this way" in the final late-game section.
If none of those tells are visible, the passage is almost certainly two-way. That makes backtracking much safer than it first appears, because the only true one-way drops are clustered in the late-game and endgame sequences.
Building a 100% Route Through the Hidden Layer
The fastest 100% route is to treat every region as a hub, hit every boss in order, and then sweep each hub for the hidden passages that the new ability opens. The community-recommended order is: Groundskeeper (Dark Garden) → Lady of the Drains → Webdrench Inn miniboss → Dollmaker → Deep beast → late beast in the Dollmaker's House. After each boss, backtrack to the relevant hub and clear the passages that the new unlock just opened.
| Step | Boss / Unlock | Passages to Sweep | Approximate Time |
|---|---|---|---|
| 1 | Groundskeeper (Dark Garden) | Breakable walls in Dark Garden, foliage veils in Lookout Tower | 30 min |
| 2 | Lady of the Drains (Drain Key) | All drainage grates, the Lookout Tower basement shortcut | 45 min |
| 3 | Webdrench Inn miniboss (Double Jump) | High ledges in Inn, second-floor routes | 30 min |
| 4 | Dollmaker (back-wall break) | Spa cavern, workshop-to-spa loop | 30 min |
| 5 | Deep beast (Glide) | Vertical shafts, Lookout Tower basement return | 30 min |
| 6 | Late beast (Phase Dash) | Foliage veil into the queen's approach | 20 min |
Sweeping in this order keeps the backtracking cost low and ensures the workshop and the spa are both online before the late-game boss rush. Players who deviate from this order often find themselves unable to reach a boss arena, because the only path to the boss is the hidden passage that opens two regions later.
Using the Interactive Map as a Sweep Checklist
The Steam Community's interactive map by GG annotates every point of interest with a screenshot and a checkbox. The fastest way to clear a region is to load the map, highlight every marker in the area, and treat each as a sweep target rather than a freeform exploration. This is the approach the 100% walkthrough video by GabeAndTheGoat uses, and it is the most reliable way to confirm no passage has been missed.
Frequently Asked Questions
Where is the workshop in Well Dweller?
The workshop is in a sub-level beneath the Webdrench Inn, reached through a fake bookshelf on the second floor's east wing. The shelf only opens once the Looter companion is following you, and it houses the trinket crafting station tied to the In the Workshop achievement.
Where is the spa in Well Dweller?
The spa sits in a sealed cavern behind the Dollmaker's House boss arena. You can only reach it by defeating the Dollmaker and breaking the false wall at the back of the arena. It offers a full heal, a temporary buff, and one free revive per visit.
How many secret passages does the kingdom have?
Counting only the passages that hide services, bosses, or collectibles, the kingdom has roughly 18 to 22 distinct Well Dweller secret passages, depending on how strictly you define a hidden route. The four most important are the workshop ladder, the spa cavern, the Drain Key shortcut, and the foliage veil into the queen's approach.
Can I backtrack through the queen's approach veil?
No. The foliage veil into the queen's approach is a one-way drop and the only point of no return in the game. Finish every collectible, sibling rescue, and trinket slot before breaking the veil, because the ending sequence begins immediately on the other side.
Do I need every ability to reach 100%?
Yes. The Match Strike alone opens the breakable walls, but the workshop, the spa, the Drain Key shortcut, and the queen's approach all require late-game abilities to access. Missing any one ability will lock at least one collectible behind a wall you cannot break, so every ability in the cascade is required for a clean 100%.